Product Description
Manchester 8360, 8361 and 8362 Wood Stoves - Front Door Latch Kit
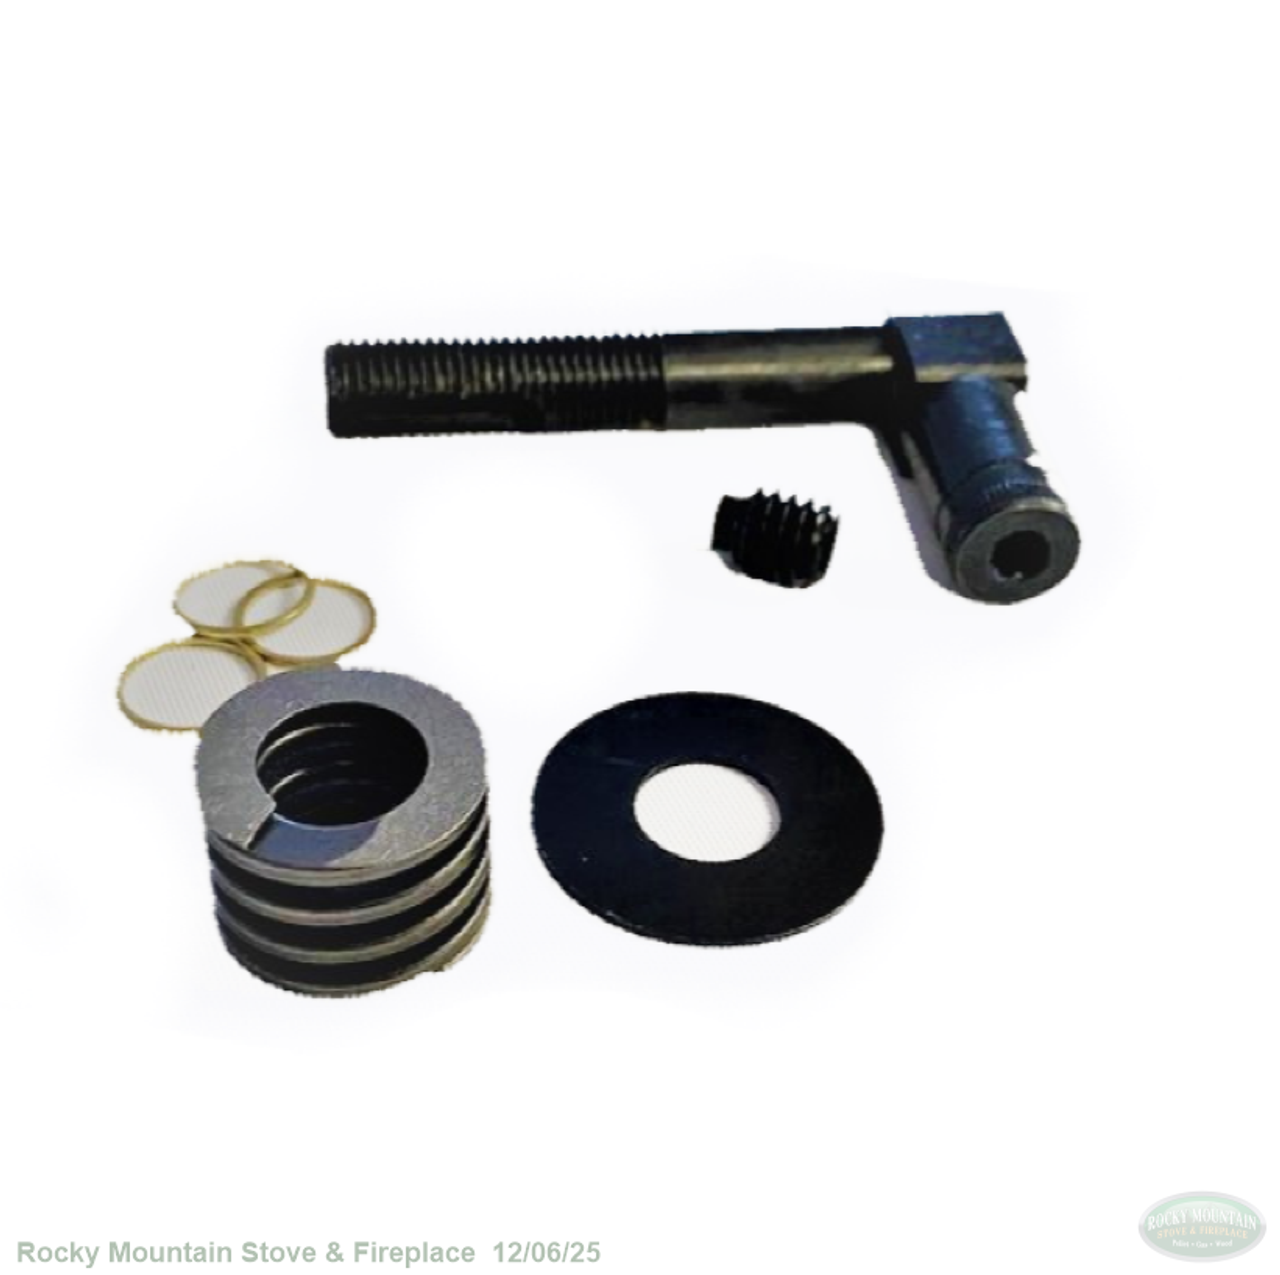
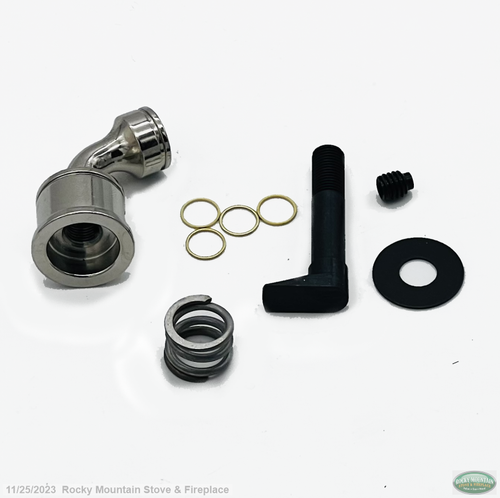
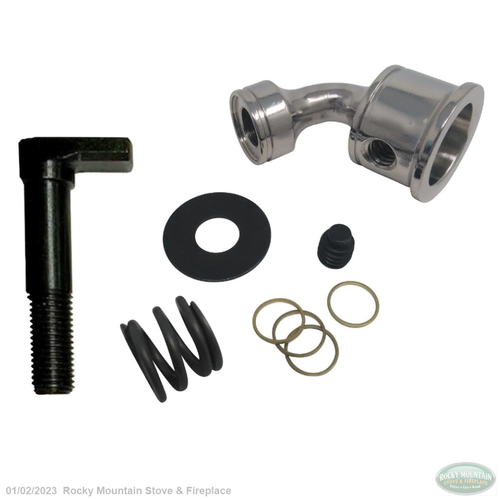
INCLUDED IN KIT:
- 1 5/16 – 18 x 3/8” allen head set screw 4500-2976
- 3 Door latch spacers (low profile washers) 4700-0790
- 1 5021-032 (.406” ID x 1” OD) 5021-032
- 1 Latch spring 5240-138
- 1 Latch 5360-068
INSTALLATION PROCEDURE:
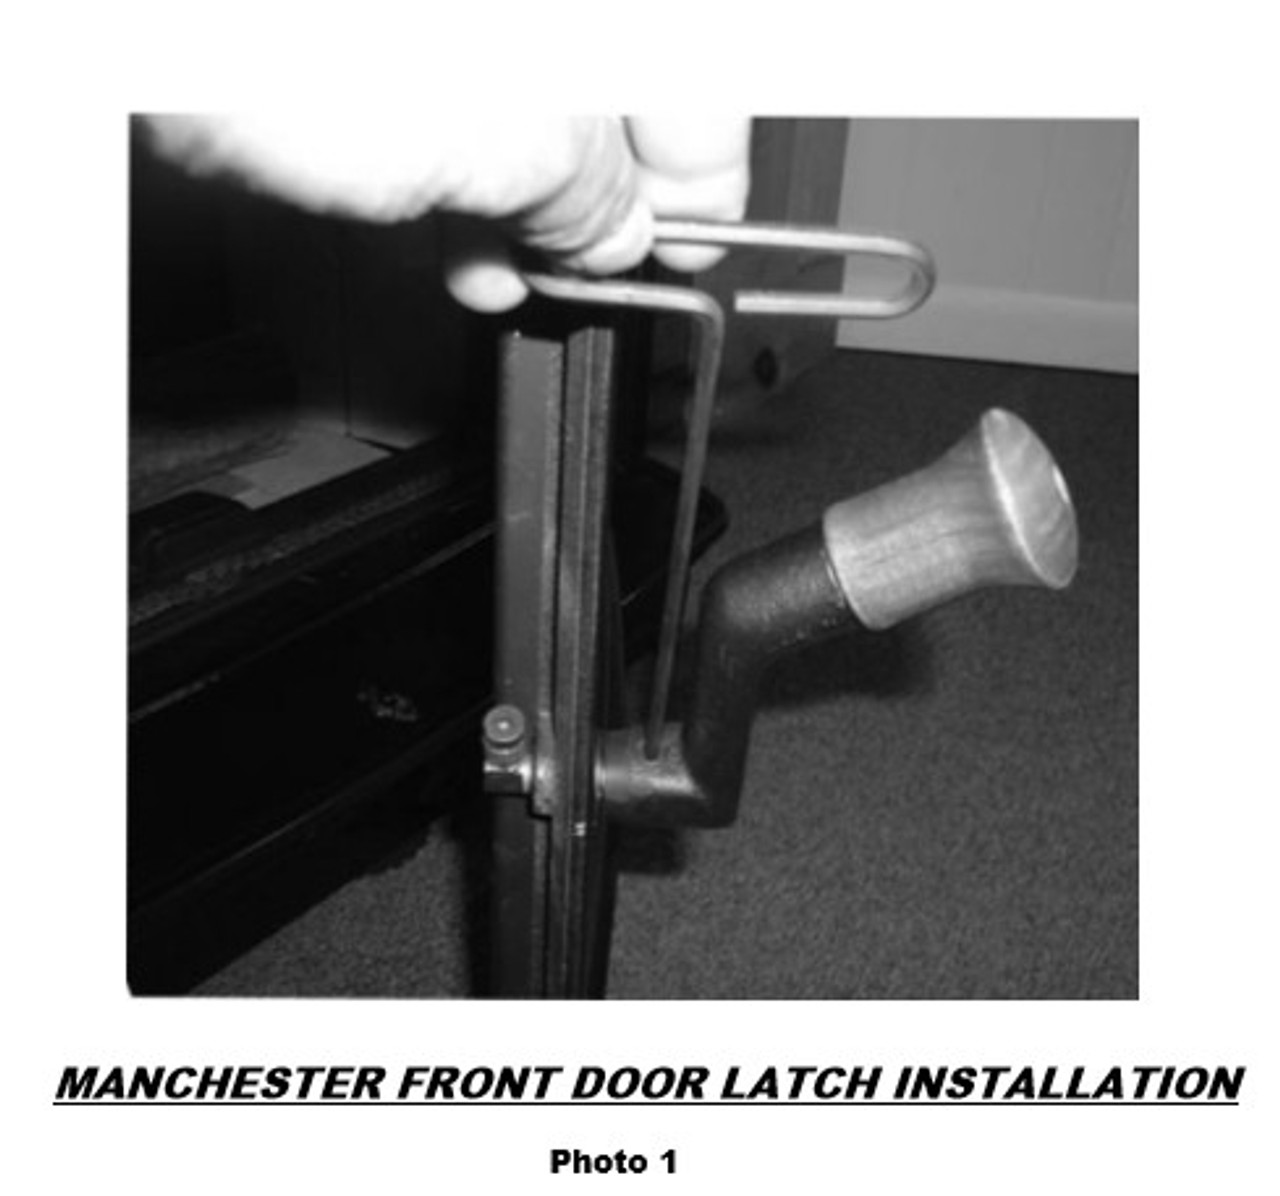
1. Remove the set screw on the outside of the cast iron crank assembly with the 5/32” allen wrench (see Photo 1).
2. Turn the cast crank counterclockwise until it separates from the threaded latch shaft. Retain the cast iron crank for the reassembly.
3. Push the latch shaft through the door and discard the original latch, washers, and coil spring.
4. Place two of the adjustment washers onto the new latch shaft (an extra washer is included in the kit).
5. Apply a small amount of high temp grease to the smooth area of the shaft.
6. Push the latch through the hole in the door and slide the 1” OD washer over the outside portion now sticking through the door.
7. Place the coil spring onto the latch on top of the 1” OD washer,
8. Thread the cast iron crank back onto the latch shaft until it is about 1/8” from the surface of the door. Line the hole in the crank up over the groove in the shaft and lock the pieces together by turning in the setscrew. The tab on the end of the setscrew will insert into the notched groove in the edge of the latch shaft. Tighten the assembly with the allen wrench.
Note: If the door latch does not close firmly or is too difficult to close, the latch system is adjustable. To adjust, loosen the set screw and turn the cast crank in or out to make the initial adjustment. If more adjustment is needed, separate the crank and latch and add a shim washer to loosen the assembly or subtract a washer to tighten it. Assemble the pieces as described in step 6 (see Figure 1)


