Product Description
Jotul ProFlame II Remote Transmitter
Jotul 157495 Replaces Jotul 157601
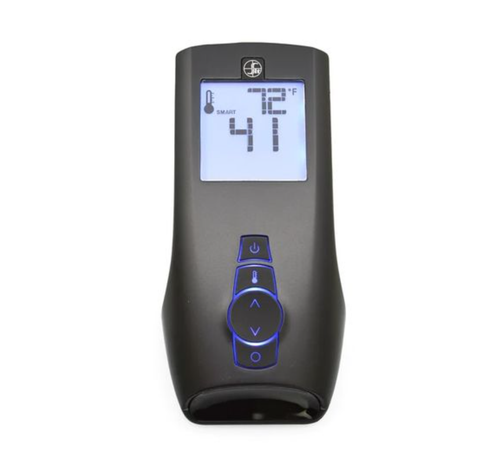
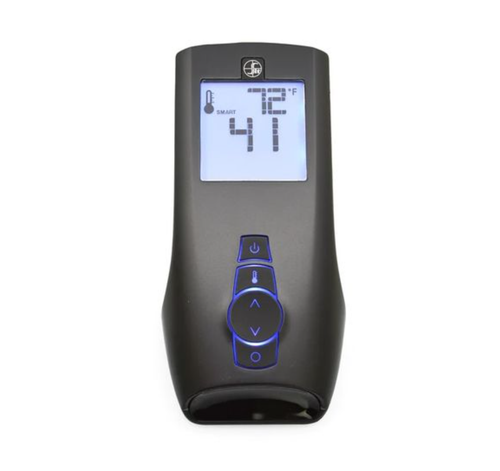
Jotul ProFlame 2 Replacement Remote Transmitter #157495: The remote transmitter has all controls available on its face for reliable, ease of use. It gives room temperature readout, set temperature readout, all function abilities as well as childproof lockout and low battery indicator. Icons appear on the screen indicating which mode of operation you are controlling. The four button controls are easy to learn and simple to operate. The transmitter is powered by three (3), 1.5V AAA batteries.
For use with the below Jotul units:
- Jotul GF 160 DV IPI
- Jotul GF 200 DV IPI
- Jotul GF 300 DV IPI
- Jotul GF 305 DV IPI
- Jotul GF 370 DV IPI
- Jotul GF 400 DV IPI
- Jotul GF 500 DV IPI
- Jotul Gi 535 DV IPI
- Jotul Gi 635 DV IPI
- SIT Group 0.584.040 / 0584040
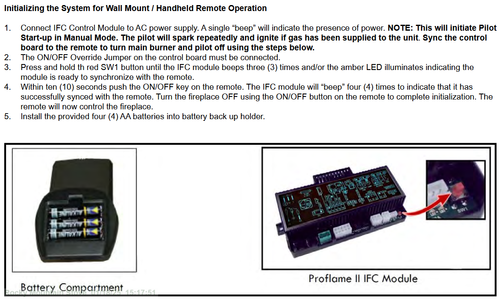
Initializing: Units with On/Remote/Off Switch inside the bottom of the unit
- Units with On/Remote/Off Switch inside the bottom of the unit - Switch the On/Remote/Off Switch to OFF.
- Install three AAA batteries into the Transmitter handset.
- Press the PRG button on the Left front corner of the switch plate. The board will “beep” three times and a yellow LED will indicate a 10-second synchronization time limit.
- Within 10-seconds, press the Transmitter ON button. The IFC will “beep” three or four times to indicate that it has acknowledged the transmitter command and sets to the particular code of that Transmitter.
- After initialization, place the Mode switch in the REMOTE position. The hand-held transmitter can then be used to control the burner.
Initializing: Unit without On/Remote/Off Switch
- Install three AAA batteries into the hand-held Transmitter.
- Press the black (or red) button on the left front corner of the IFC board, next to the controls switch plate. The board will “beep” three times and a yellow LED indicates a 10-second synchronization time limit.
- Within the 10-second time frame, push the ON button on the Transmitter. The IFC will “beep” four times to indicate that it has acknowledged the transmitter command and sets to the particular code of that Transmitter.
- After initialization, the burner switch must be placed in the ON position and Pilot Mode switch placed in CPI. The remote can then be used to control the burner

Product Videos
Videos Hide Videos Show Videos
Custom Field
Product Reviews
1 Review Hide Reviews Show Reviews
-
The remote works fine, exactly what was needed
customer support was very much appreciated


