Product Description
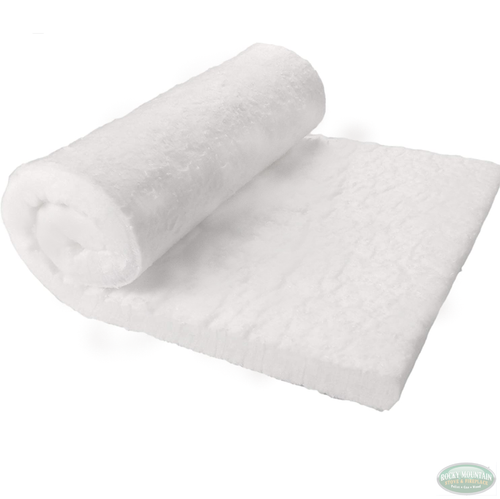
Jotul F55 Wood Stove - Baffle Blanket
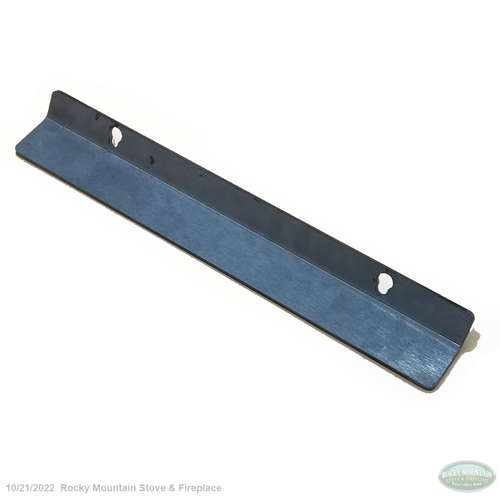
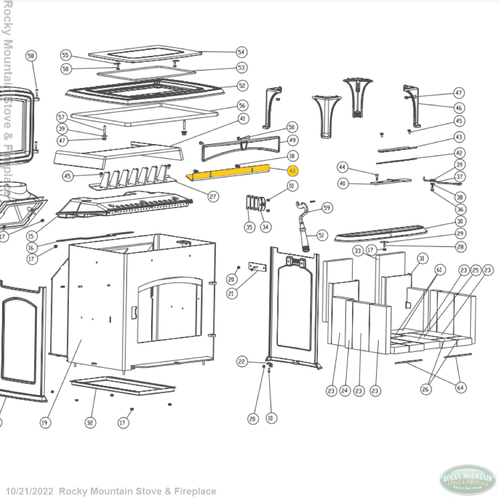
Special Order Item 2-3 Weeks to ship, This part is not east to replace Please see below. The Baffle Blanket lays on top of the Baffle in the top of the firebox.
Used on the below Jotul Stoves:
- Jotul F 55
- Jotul F 55 V2
Removal and Replacement of the secondary Air Manifold Blanket:
1. Disconnect chimney connector from smoke outlet and move the stove away from walls for ease of access to the rear. Use an assistant to move the stove and reduce potential injury.
2. Use a 10 mm open-end or socket wrench to remove the two flange nuts on studs that hold the rear shroud onto the stove.
3. Use a small 3mm allen head tool to remove the two allen heads on the bottom brackets.
4. With one hand on the inside of the smoke outlet holding the M6 flange nut, use a 10mm open-end or socket wrench to remove the (2) M6x20 bolts from smoke outlet. Place the smoke outlet out of the way.
5. Use a 13 mm open-end or socket wrench to remove the (2) M8 flange nuts with M8 fender washers retaining the top plate assembly. Access through smoke outlet opening is adequate.
6. Wearing gloves and using both hands or assistance from another person, lift the top plate assembly off of stove. Locate the plate out of the way on a protected surface.
7. Using both hands and avoiding skin contact, lift the insulation blanket up and off top of baffle and out the top opening.
8. Install using both hands and avoiding skin contact, Install the insulation blanket. Fold the blanket over the sides of the air manifold and position the front edge of the blanket even with front edge of the baffle ensuring the turbulator is not obstructed.
9. Using both hands, or assistance from another person, position the set screws on the top plate through the top brackets of firebox.
10. Ensure that the gasket is even around firebox top. Using the 13mm open-end or socket wrench, reinstall the M8 flange nut with M8 fender washer onto each set screw on top plate.
11. Reinstall rear shroud to stove. Hang serial plate onto the rear shroud.
12. Prior to reattaching the chimney connector to the smoke outlet, confirm the correct placement of the stove on the floor. See Section 4.6, Clearance to Combustibles.


