Product Description
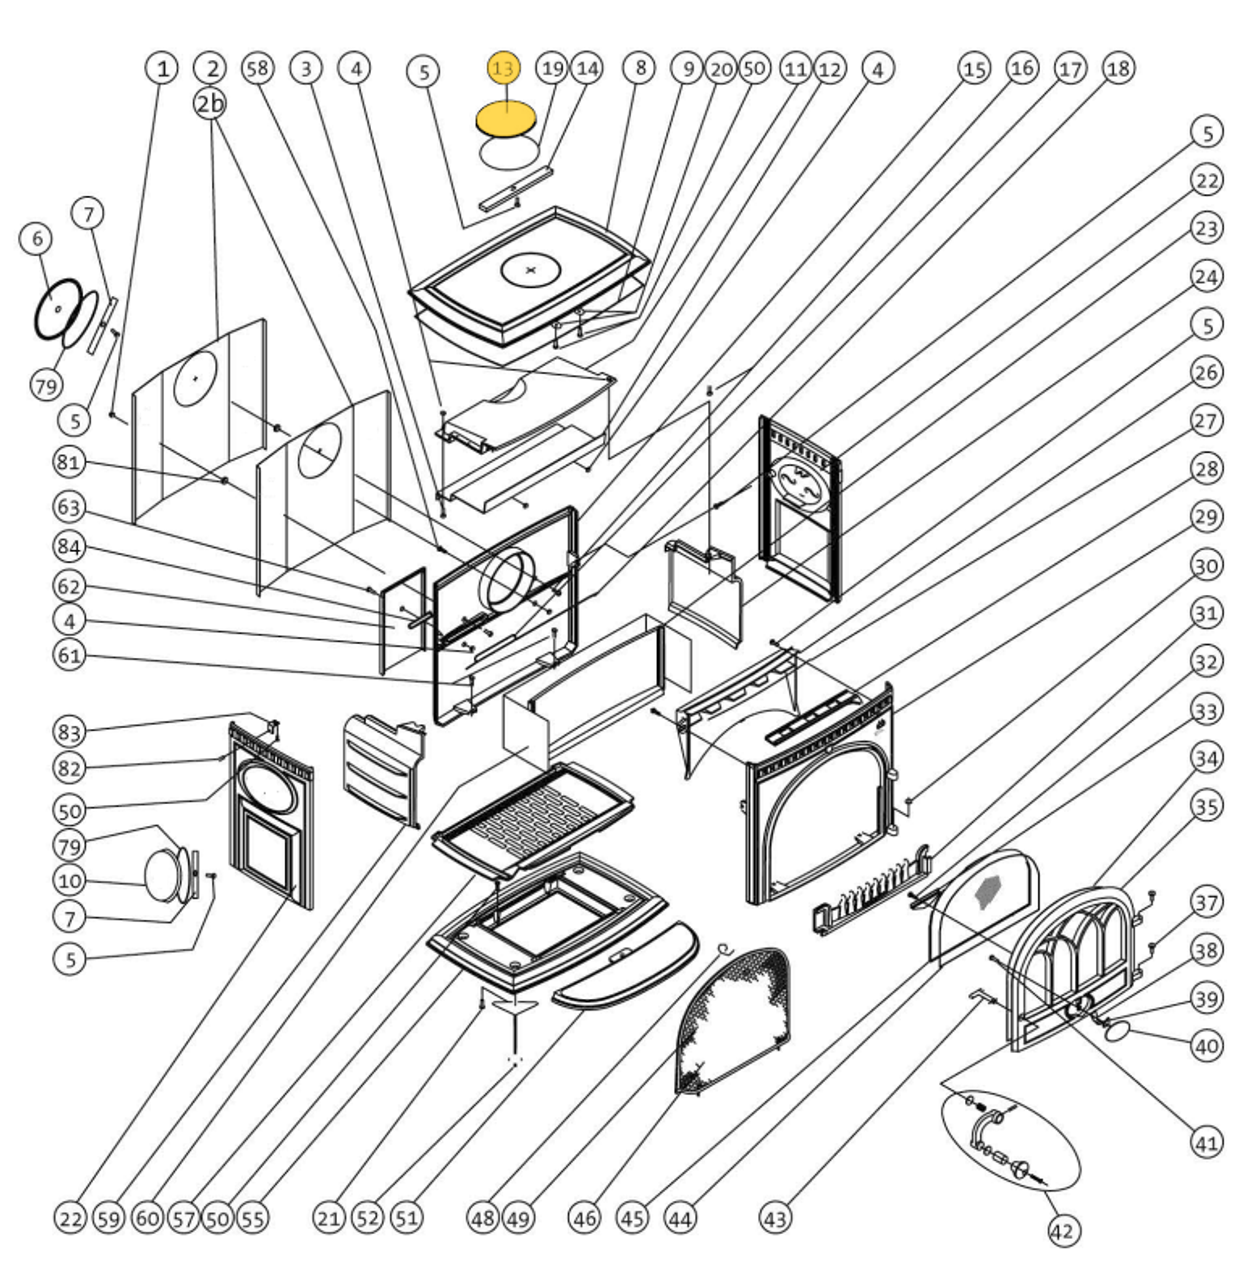
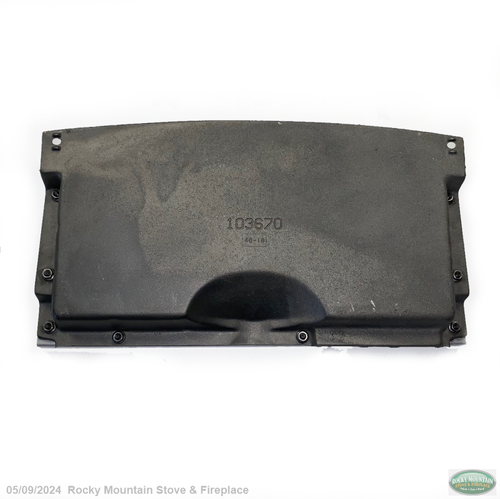
Jotul F 3 CB Wood Stove - Top Smoke Outlet Cover 154468
For use on the Jotul F 3 CB ( 3 CB ) Wood Buring Stove Cover for the Top Outlet ONLY,
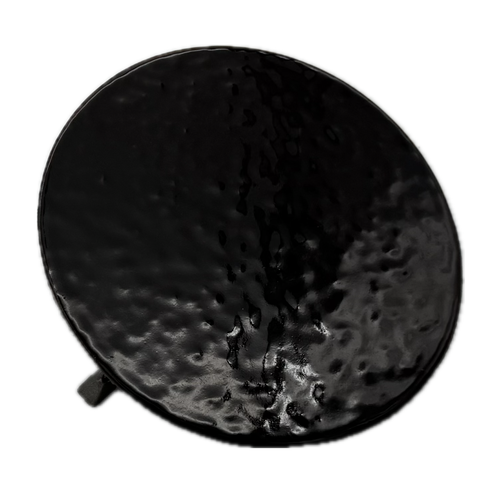
For the Jotul REAR cover please see #153917
Jotul 154468 Includes:
- 6 7/8" Matte Black Outlet Cover
- Traverse Bar #10381812
- Hex Bolt #117117
Rear-exit Venting:
If rear exit venting is desired, it will be necessary to “knock-out” the vent hole from the rear casting. Follow the procedure below.
• Remove the Top Plate of the stove by removing the two, 3mm set screws that secure the top to the sides. The set screws are located on the outside of the stove on the top of each side panel.
• Use a 10mm wrench to remove the double rear heat shields from the back of the stove.
• Remove the front door to avoid potential damage to the glass. NOTE: Loss of the hinge washer will result in improper door alignment.
• Use a hammer to strike the center of the 6” “knock-out” disc from the outside of the stove. The “knock-out” disc will break into four wedges and may need to be tapped out. Touch up any remaining sharp edges with a file or hand grinder.
• Reinstall the Top Plate and front door with hinge washer.
• Replace the rear heatshields and shield spacer nuts. Remove the metal cover plates from the heatshields and reinstall. Reminder: Reinstall the small nuts used as spacers between the two heatshields.
Side-exit Venting
• Use a 3mm hex key to remove the two set screws that secure the top plate to the sides.
• Remove the front door to avoid damage to the glass. NOTE: Loss of the door hinge pin washer will result in improper door alignment when reinstalling the door.
• Use a ball-peen or small sledge hammer strike the center of the 6” “knock-out” disc from the inside the stove. The “knock-out” disc will break into four wedges and may need to be tapped out. Touch up any remaining sharp edges with a file or hand grinder.
• Reinstall the top plate and front door, including the hinge washer.
Installing the flue collar
• Place the self-adhesive gasket (Fig.3A) on the underside of the smoke outlet (Fig. 3B).
• Mount the smoke outlet with use of the supplied screws and cross bar (Fig. 3C)
• Secure the first section of stove pipe to the flue collar using two sheet metal screws.

