Product Description
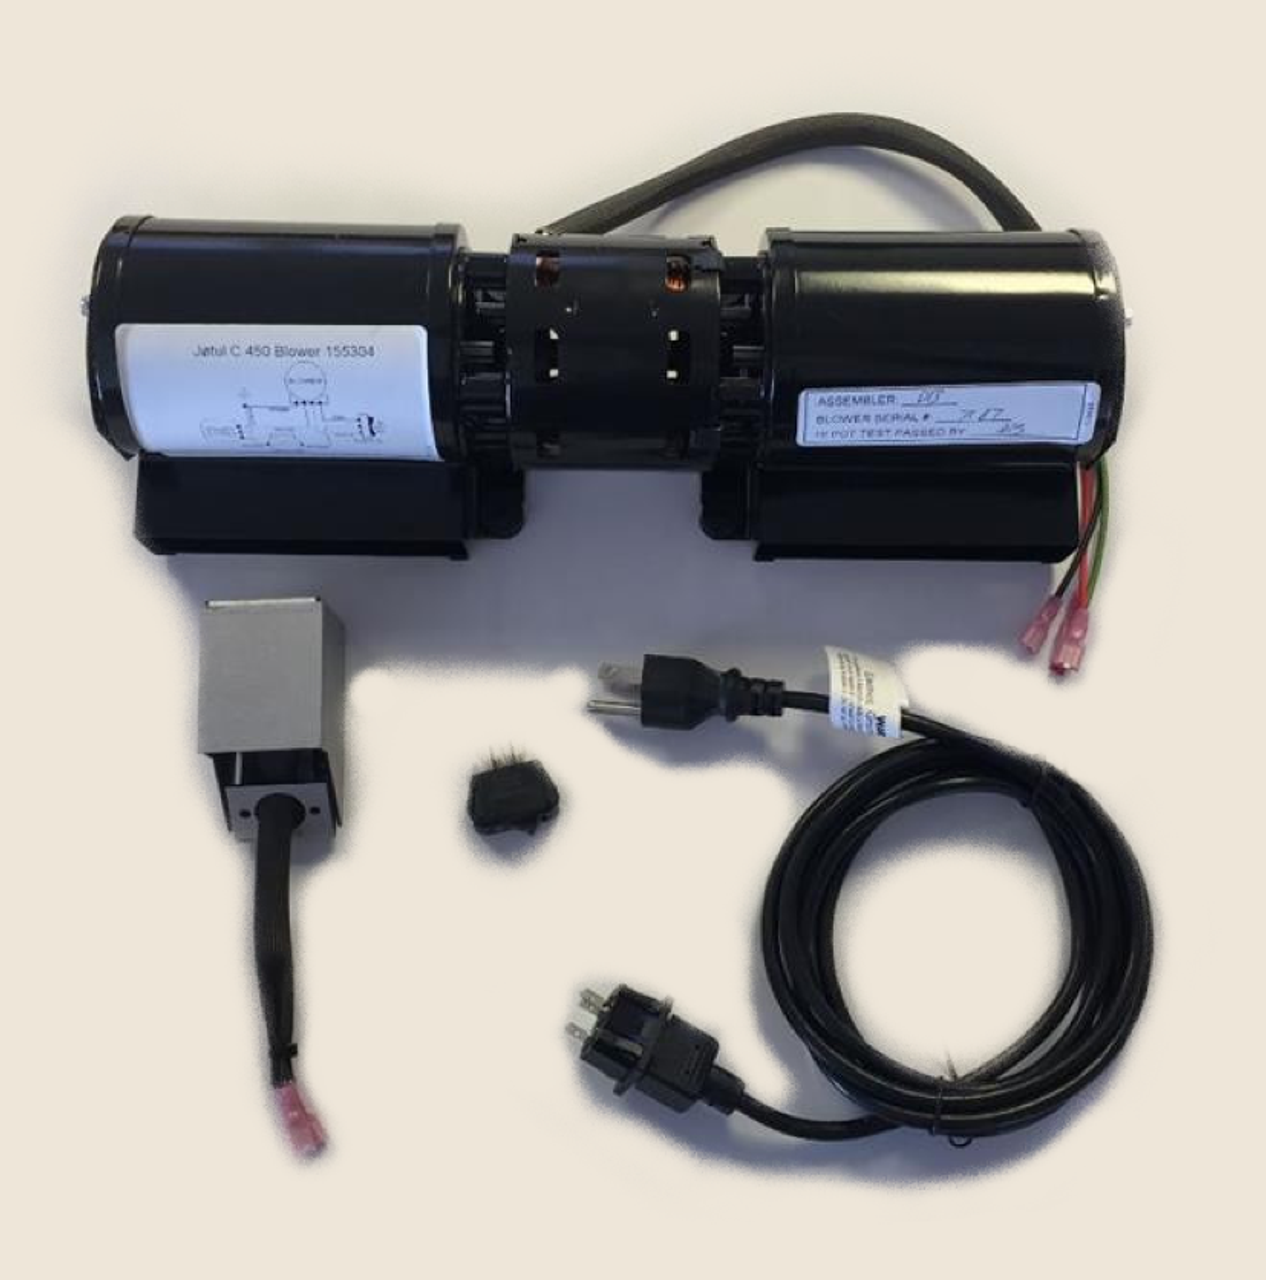
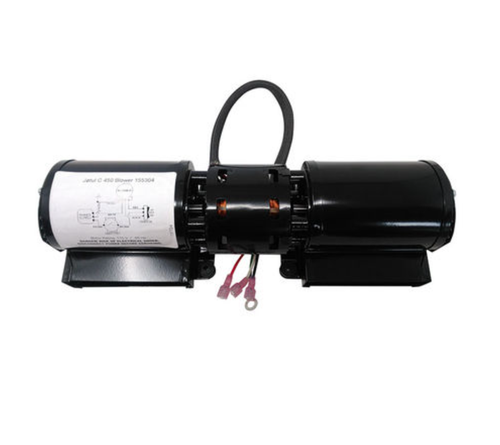
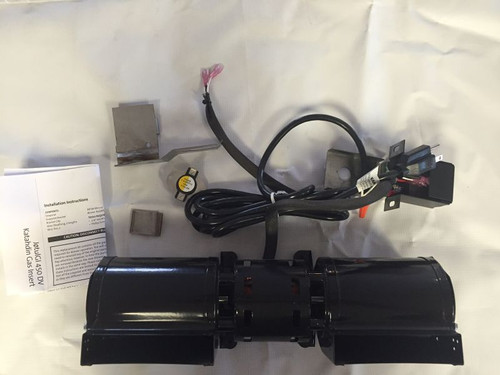
Jotul C450 Wood Insert - Complete Blower Kit
This kit contains all the pieces to add a Blower system to a Jotul C450 Wood Insert, if you already have a blower kit and are looking for a replacement blower motor only please see: C450 Blower Kit - Blower Motor
To Install Blower Kit
1. Remove the Ash Lip if it has been installed.
2. Remove the Base Grill. Use a 10 mm wrench to loosen the upper two M6 flange nuts at the back of the grill. The two lower nuts should already be loose. Lift the grill up to disengage it from the side ash lip supports.
3. Remove the Ash Lip Support from the side where the power receptacle and switch will be installed. Use the 10mm socket with 6” extension to loosen the two nuts (A, Fig. 14) that secure the panel to the Base Plate.
4. Loosen the two hex nuts (B, Fig. 14) and pull the blower out of the firebox .
5. Remove the Blower Shroud with removal of two hex nuts (C, Fig .14) from the shroud legs.
6. Insert the Control Switch and Power Receptacle: Use a flat head screwdriver and pliers to pry the knockouts from the appropriate ash lip support . Work from the inside, to avoid marring the outside sur face. Insert the Power Switch in the upper hole, and the Power Cord Receptacle into the lower hole. See fig. 15.
7. Install Snapstat Assembly: Remove the snapstat knock-out from the same side of the Blower Shroud. Run the snapstat leads through that hole and attach the bracket to the Shroud using two #8 x 1/2” sheet metal screws. The clearance hole in the shroud leg is for screwdriver access.
8. Attach the Air Deflector: Using the two remaining #8 sheet metal screws, attach the Air Deflector to the Blower Shroud on the same side as the snapstat is installed. See fig. 13, parts 4 and 5.
9. Re-attach the Blower Shroud to the firebox base using the two M6 x 12 flange head nuts previously removed. Confirm that the snapstat assembly is in direct contact with the firebox floor.
10. Replace the blower and re-tighten the mounting
nuts.
11. Connect the loose wires
Green: Remove the hex nut from the corner post and attach the ring terminals of the two ground leads to that post. Attach the jumper lead to the middle Power Receptacle terminal.
White: Wire harness to lower Power Receptacle
Black: Wire harness to lower Switch terminal
Red: Wire harness to upper Switch terminal
Beige:
• Snapstat to middle Switch terminal
• Snapstat to upper Power Receptacle
12. Re-attach the Blower Shroud to the firebox base using the two M6 x 12 flange head nuts previously removed. Confirm that the snapstat assembly is in direct contact with the firebox floor.
13. Replace the blower and re-tighten the mounting nuts.
14. Replace the Ash Lip Support and tighten the nuts.
15. Replace the Grill and Ash Lip.
16. Plug the power cord into the receptacle and run the cord to the nearest house current outlet.

Product Videos
Custom Field
Product Reviews
1 Review Hide Reviews Show Reviews
-
Fan is quiet!
The stove fan is very quiet and was easy to install. Turnaround after placing order was quick.


