Product Description
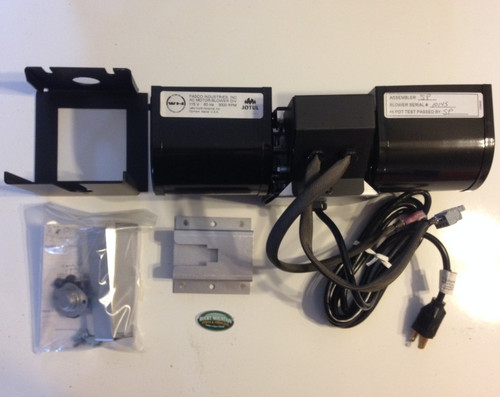
Jotul Gas Stove Blower #155371
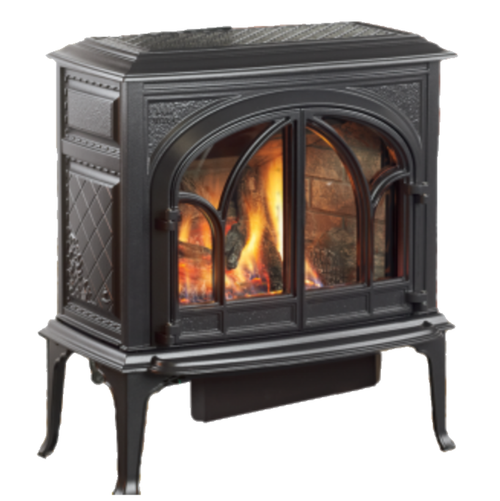
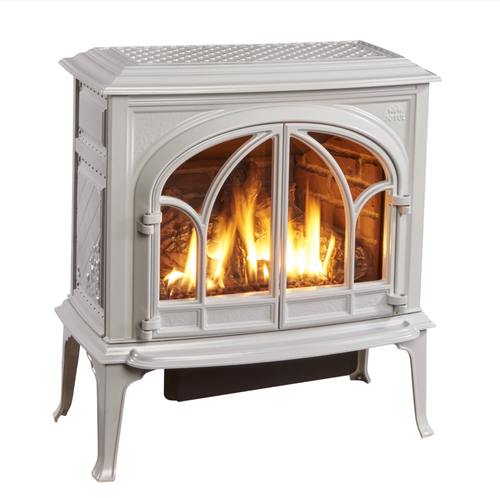
Designed for the below models from Jotul:
GF 300 with serial numbers below 30000 with a four pin molex connector.
GF 400 with serial numbers below 30000 with a four pin molex connector.
If your serial number is greater than 30000, please see part #156000 that has a five pin molex connector.
Read these instructions before beginning the installation.
1. Unpack and check the contents of the blower kit. The kit includes two Air Deflectors and two #7 x 1/2" screws that will not be used with the GF 300 DV Allagash stove. Contact your dealer if any damage is evident or parts are missing. See fig. 42.
2. Install the Snapstat by sliding it all the way into the slot in the bottom of the Snapstat Bracket as shown in fig. 43.
3. Attach the Snapstat Bracket to the studs located in the middle of the firebox floor using the two M6 hex nuts and a 10 mm wrench. See fig. 43.
4. Attach the Blower Bracket to the stove using the two M6 flange head hex bolts as shown in fig. 43.
5. Install the Blower with the duct openings oriented up and to the rear. See fig. 44. Feed the snapstat wire harness through the bracket opening and secure the blower to the bracket with the wingscrew. Route the controls wire harness over to the female quick connector already installed in the stove.
6. Attach either Snapstat wire connector to either Snapstat terminal. See fig. 44.
7. Connect the male Control Switch connector to the female control switch wire harness already installed in the stove. See fig. 44.
8. Connect power cord to outlet


