Product Description
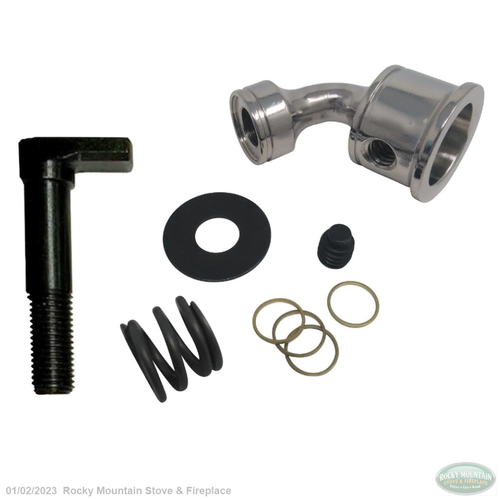
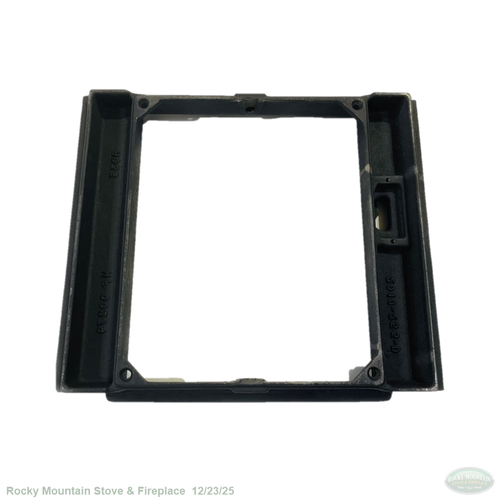
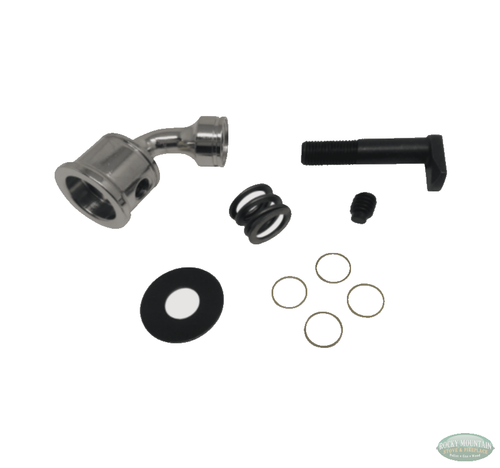
Hearthstone Heritage 8022 Side Door Torsion Spring
#5240-143
PROCEDURE:
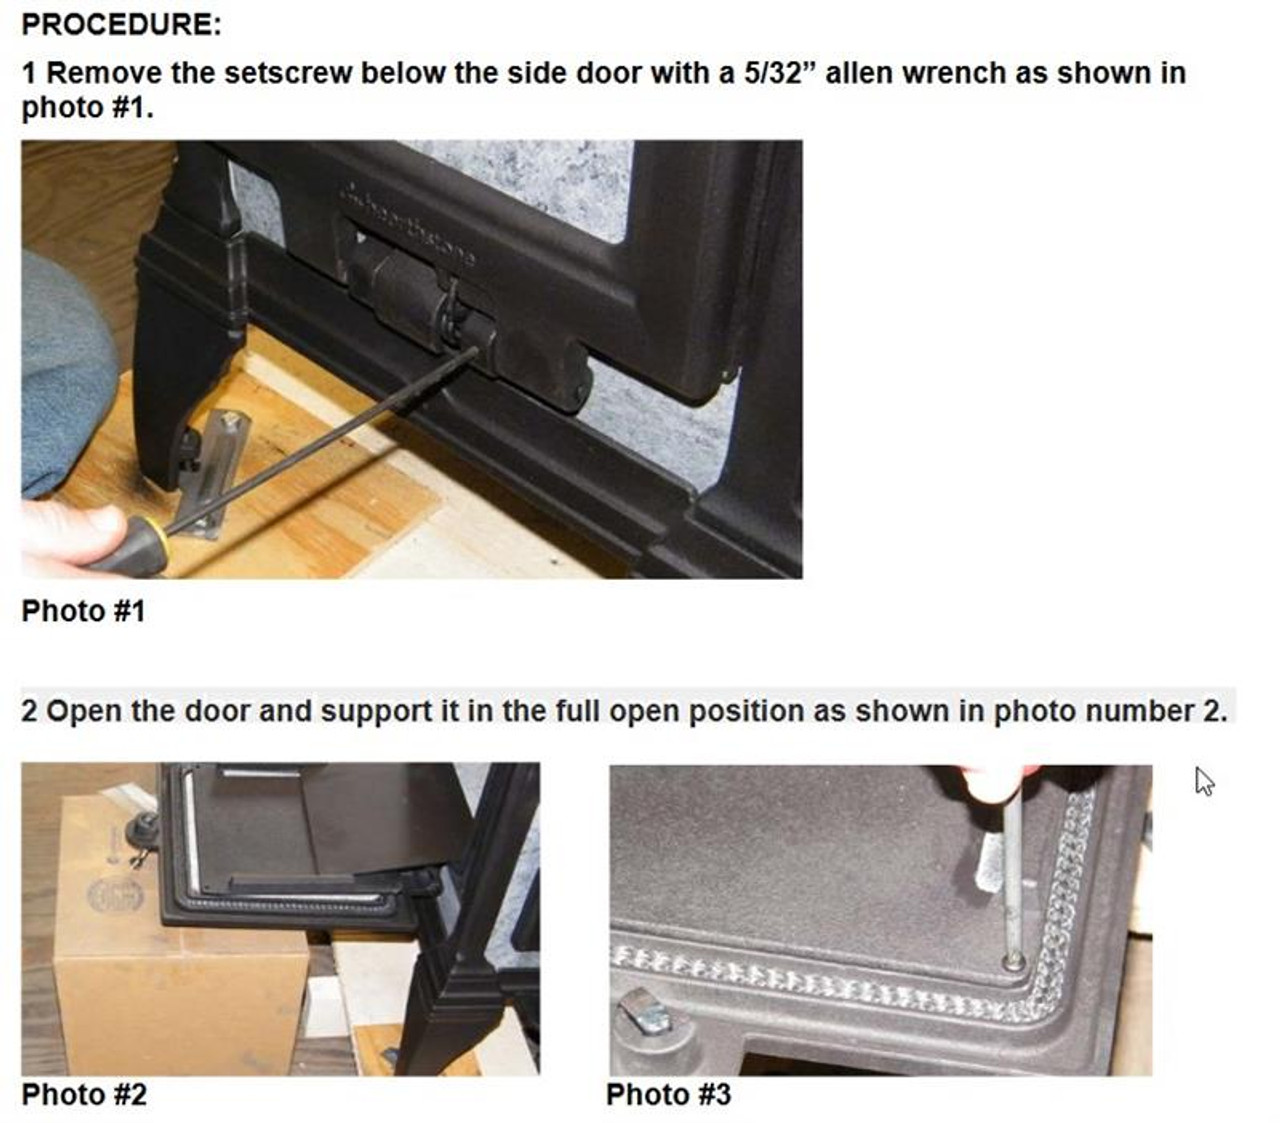
1 Remove the setscrew below the side door with a 5/32” Allen wrench as shown in photo 1
2 Open the door and support it in the full open position as shown in photo number 2
3. Using a Phillips screwdriver, remove the four screws that hold on the stone retainer (photo #3). Angle the stone retainer to separate it from the sliding plate (photos 3 & 4). Flip the sliding plate into a vertical position so it will be out of the way
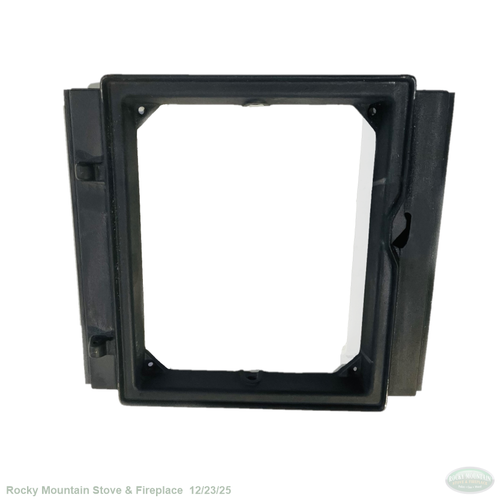
4.Using the Phillips screwdriver, remove the four screws that hold the side door frame to the side of the stove as shown in photo #6 & #7
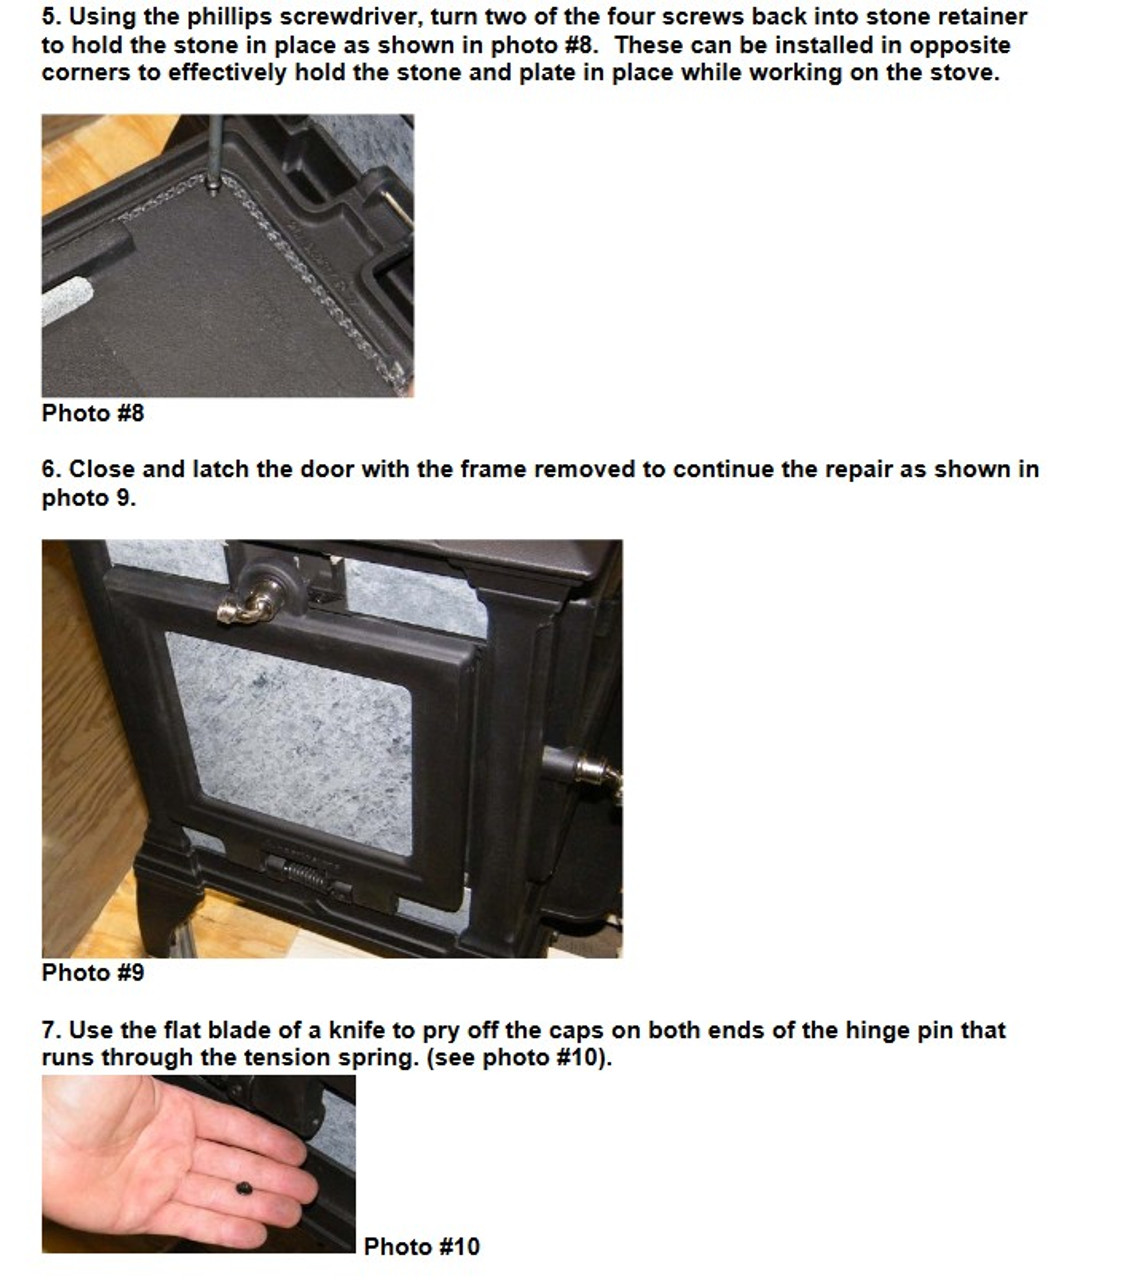
5. Using the Phillips screwdriver, turn two of the four screws back into stone retainer to hold the stone in place as shown in photo #8. These can be installed in opposite corners to effectively hold the stone and plate in place while working on the stove.
6. Close and latch the door with the frame removed to continue the repair as shown in photo 9.
7. Use the flat blade of a knife to pry off the caps on both ends of the hinge pin that runs through the tension spring. (see photo #10)
8. Using a hammer and 18’ long x 3/16” diameter flat ended punch or rod, start to punch out the hinge pin from right to left as shown in photo 11.
9. Install the new tension spring. The longer end of the spring must be upright and positioned in the slot in the door (see photo #14) . IMPORTANT NOTE: When installing the replacement spring, the bottom (shorter) end of the spring should be positioned below the hole where the original spring was installed (as shown in photo #13). Apply pressure to the spring to force it back against the casting. Once it is pushed in, the hinge pin can be tapped back in. This may require two people for the best results: one to keep the pressure on the spring (pushing with a flat blade screwdriver) and one to tap the pin hack through the hinges.
Do not fully remove the hinge pin. Tap it to the left until it reaches the end of the spring cavity.
Reverse order of steps 1-9 to reassemble the door components

Product Videos
Custom Field
Product Reviews
1 Review Hide Reviews Show Reviews
-
Door spring install
If you do exactly what the instructions say this repair will not take more than 15 minutes. I did put never seize on the screws that we took out before reinstalling them. Piece of cake...


