Product Description
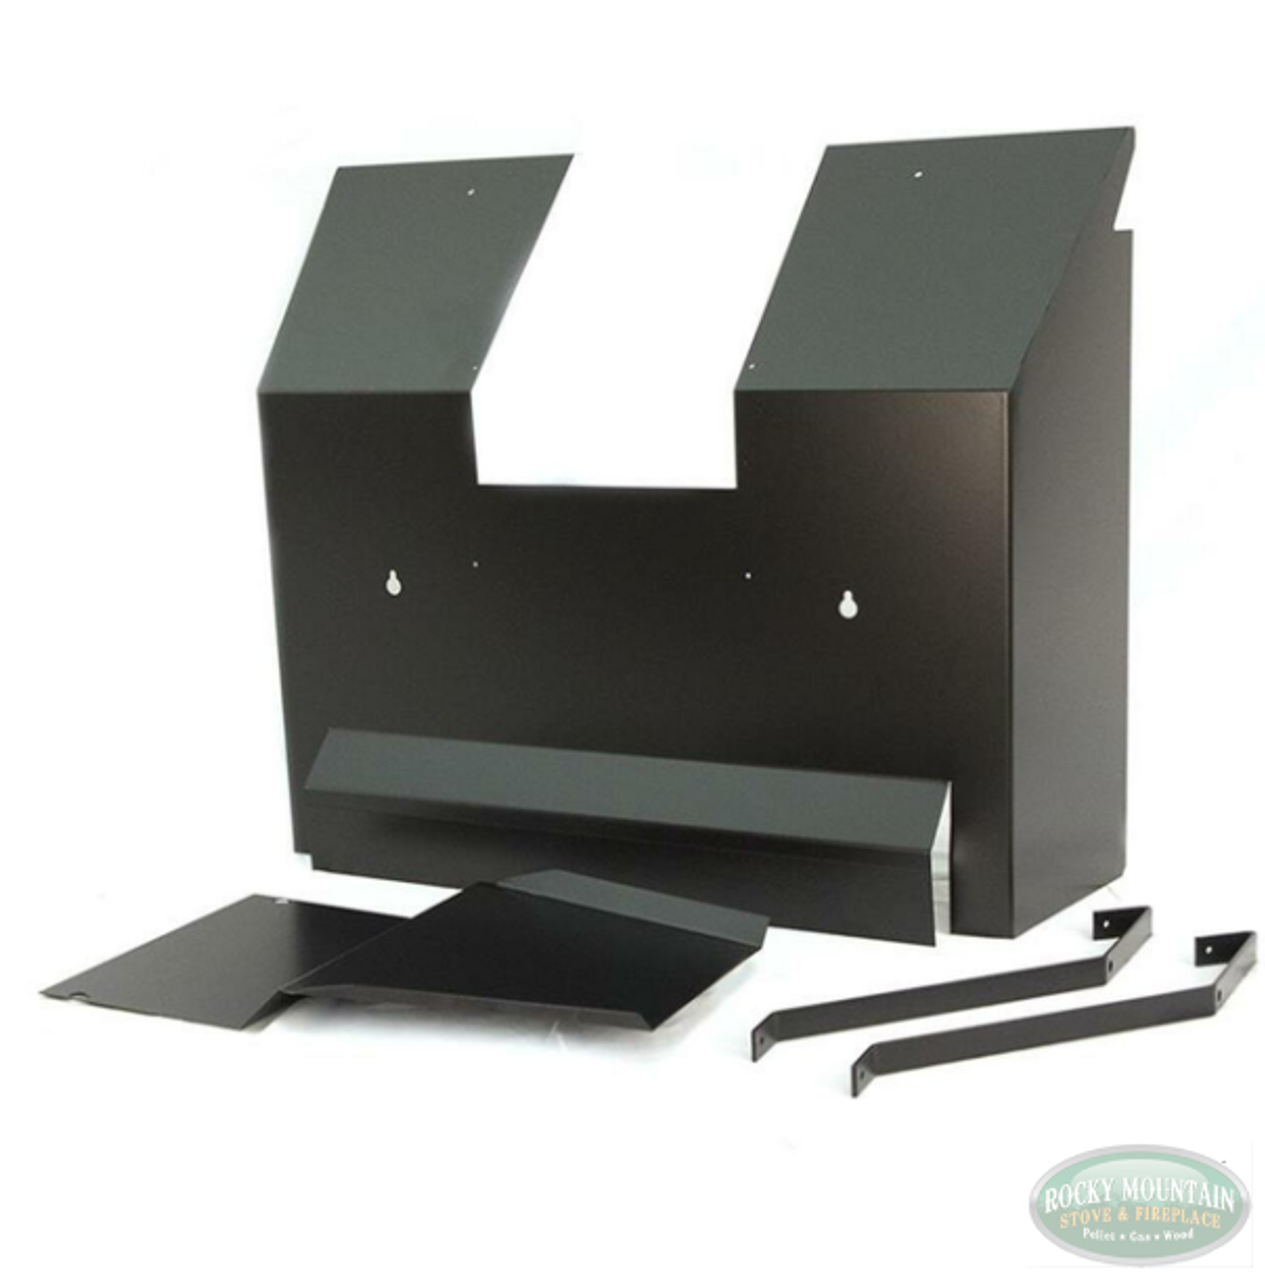
HearthStone Shelburne 8370 / 8371 Wood Stove - Rear Heat Shield
This Heat Shield attaches to the back of the stove to reduce the stove's clearances to combustibles. Please see attached pictures for details
For use on the below models only:
- Shelburne 8370 Built between 2001-2011
- Shelburne 8371 Built between 2011-2019
TOOLS REQUIRED:
(1) #2 Phillips Screwdriver
(1) 7/16 Wrench
Note: Some holes in the steel may be “key-holed” to ease in the installation. Be sure to leave the corresponding bolts loose in order to allow the key-hole to slide over the bolt head. Tighten these bolts after the steel is in place.
BEFORE YOU BEGIN: Work on a cool stove. You will need to access the rear of the unit. Identify the assembly pieces listed above. If your stove is equipped with the optional blower (90-57000) you will want to remove the bottom extension of the heat shield before installing the shield. If your stove is equipped with the optional outside air kit (93-53700) and you are using the rear exit location you will want to remove the center portion of the bottom extension. To do this, bend the portion of sheet metal below the perforation up. Work the sheet metal in a back and forth motion until it breaks free from the heat shield. If you are not using the blower or the outside air kit leave the shield intact. (Refer to figure 1)
PROCEDURE:
1) If you are installing the stove in a top exit configuration, you will need to first attach the upper extension plate to the rear heat shield using the four #8-32 screws provided with the kit. Align the holes in the extension plate with the holes in the rear heat shield so that the extension plate is extending up, behind the stove pipe. (Refer to figure 1) If you are installing the stove in a rear exit configuration, do not install the extension plate.
2) To install the heat shield brackets, first locate the two lower flue collar mounting screws. Remove the two lower screws. Orientate the brackets as shown in figure 1 and fasten the bracket and the flue collar to the stove using the two ¼-20 screws provided with the kit. Be sure the brackets are positioned straight up and down and tighten the screws securely. (Refer to figure 1)
3) Align the four holes on the heat shield with the threaded holes in the brackets and install the four #10-24 screws to hold the heat shield in place. (Refer to figure 1) The installation is now complete.


