Product Description
This item is no longer available
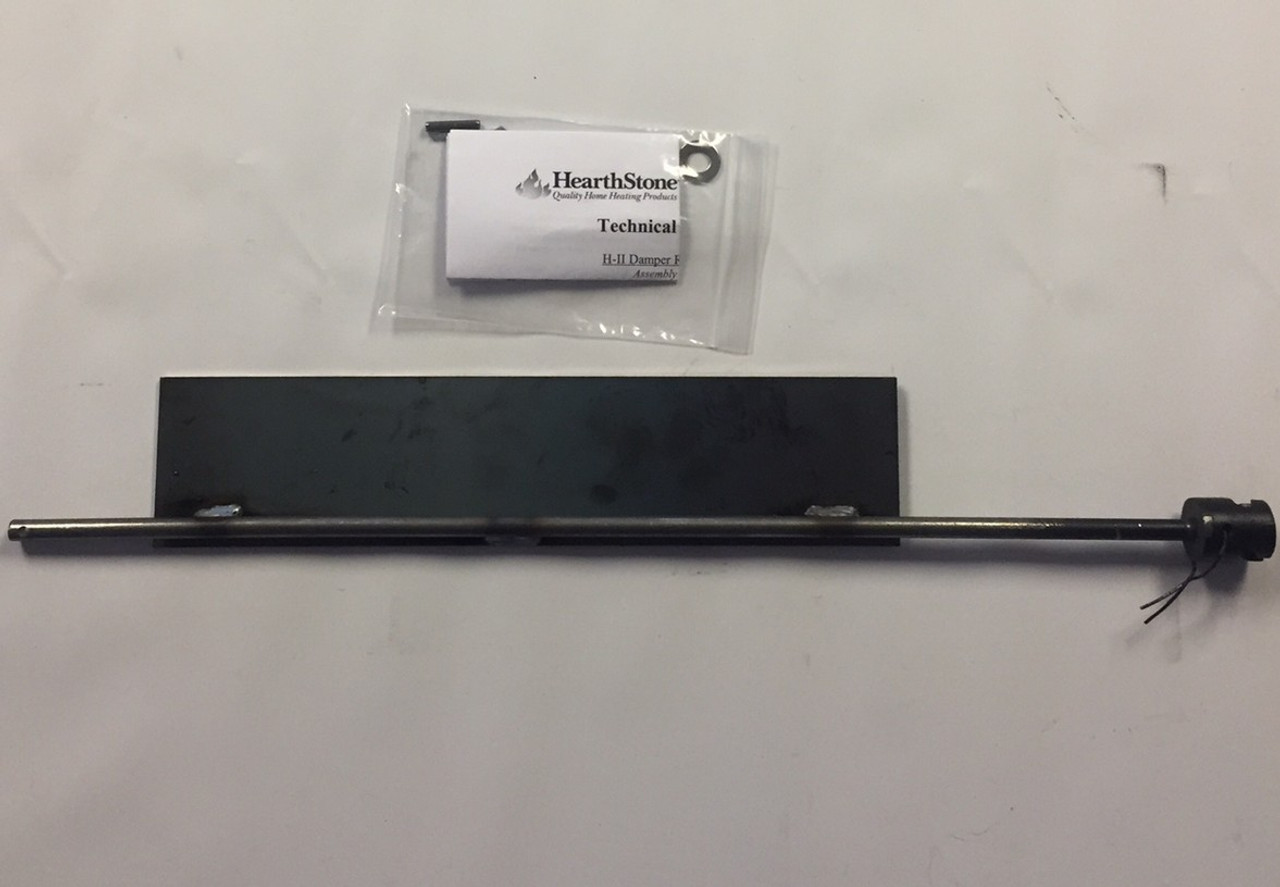
HearthStone HII Replacement Damper
#92-58230
Hearthstone HII replacement Damper Measures: 13" x 3" Damper Flap, overall rod length 22 1/4"
PROCEDURE:
1. Using a hammer and punch, drive out the roll pin located in the cast iron handle on the outside of the damper assembly that you are replacing.
2. Pull the damper rod through the bushing in the stone and into the firebox. Lift the opposite end of the damper up until it is free of the notch that supports the damper. The damper should now be loose and can be removed from the stove through one of the doors.
3. Prepare the replacement damper by placing the flat washer onto the rod, pushing it beyond the hole drilled into the end of the damper opposite the handle. Place the cotter pin into the drilled hole in the damper and twist the ends of the pin with the needle nose pliers to prevent it from falling off the damper. Remove the cast iron handle from the other end of the damper.
4. Place the damper into the stove. IMPORTANT: When placing the damper into the stove, make sure the blade is positioned above the baffle. The flat washer on the damper rod should now be pushed tightly against the cotter pin. Place the end of the damper with the cotter pin and washer into the retaining notch inside on the steel bar that retains the front door frame (make sure the cotter pin and washer are to the right of the notch). Push the whole assembly to the right far enough to allow the whole damper assembly to be placed into the firebox. The handle end of the damper can now be pushed through the brass bushing (in the stone) on the left side of the stove until the rod comes out through the bushing.
5. Line the hole in the damper rod up with the hole in the new cast iron handle. Tap the new roll pin into the handle with the hammer until it is fully in place (flush to the damper handle). HINT: When the damper handle is lined up with the rod, place a small bolt or finish nail partially in through the bottom of the handle to keep it aligned as you tap the pin into place.
6. Make sure the damper can be opened and closed with the t-handle.

Product Videos
Custom Field
Product Reviews
3 Reviews Hide Reviews Show Reviews
-
very tight fit
cant get the pin properly seated. instructions on how to proprerly position the brass nipple would have been good
-
damper
perfect size but my old one had a thread side on the right and the new did"nt
-
Damper
The damper was perfect and arrived sooner than expected!


