Product Description
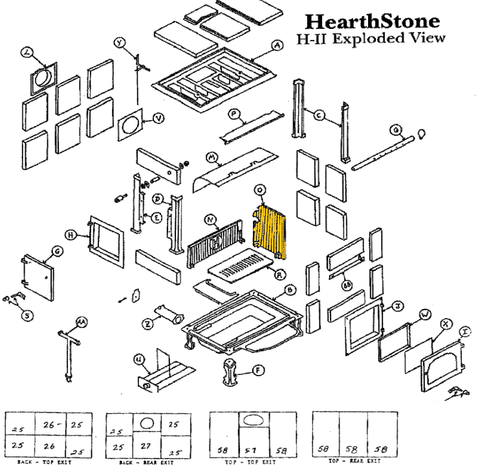
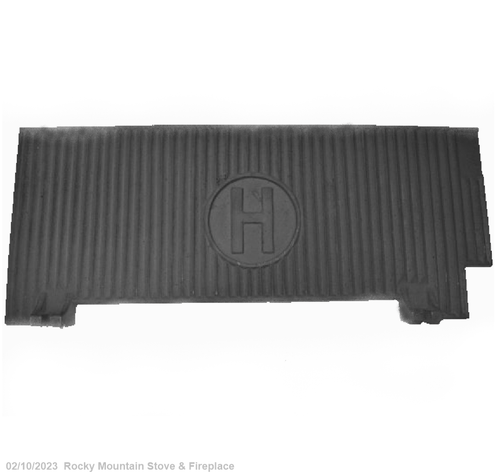
HearthStone H-II and American Heritage Replacement Baffle
No longer Available
Designed to replace both the HII and HII Alginon Baffles and the American Heritage Wood Stove
KIT CONTENTS:
1 - #2211-243 Cast Iron Baffle Measures: 20 7/8" x 12 3/4"
2 -#4200-0650 5/16”-18 Lock Nuts
4- #4200-0700 5/16”-18 Hex Nuts
2-#4500-3300 5/16”-18 Flat Head Bolts
BEFORE YOU BEGIN:
Clean the stove thoroughly with a wire brush, putty knife, and vacuum cleaner or ash shovel. Place a drop cloth around the stove area.
PROCEDURE:
1. Lower the baffle down into the firebox by removing the 5/16" nuts securing it to the bolts that drop through the top casting. The two nuts are 5/16" and can be removed with a socket or wrench. The baffle will drop about an inch and rest on top of the side plate.
2. Remove the baffle from the firebox by angling it around the side plate and then out the side door.
3. If the baffle bolts need replacing, the top stones will need to be removed.
4. To remove the top stones, first remove the flue collar (if a top vent model) with a 7/16" socket and wrench and a large screwdriver.
5. The top stones can be pried out using a flat screwdriver. For top vent models, you can pry under the stones around the flue opening. For rear vent models, start gently prying on one end to get the end stone up first. Be sure to protect enameled cast iron with a heavy cloth before starting. If the stones do not release, place a small block of wood under the stones (through the firebox) and tap up with a mallet.
6. Clean the furnace cement from the top stones and splines. A putty knife will work for the stones and casting, and needle nose pliers with a tap from a rubber mallet will remove the splines. Clean the splines by tapping them with a hammer. Make sure to clean out the slots in the top stones with a putty knife.
7. Remove the old baffle bolts. One way to remove the bolts is to drill the heads off with a power drill and large drill bit.
8. Take the new baffle bolts and put them down through the top casting. Turn a nut onto each bolt until the nut is close to being tight against the top casting, but still has some play.
9. Take two more nuts and put each one about an inch down on the baffle bolts.
10. Place the new baffle into the firebox. Lift the baffle so that the bottom is resting on the support tabs (located on the steel strap in the back of the firebox), and line it up so that the hanger bolts drop through the holes in the front of the baffle.
11. Take the last two nuts and put them so that they are flush to the end of the bolt. Turn the two nuts in the middle until they tighten onto the baffle. All six nuts should be finger-tight at this point.
12. Work the damper assembly and make sure that it is operational and sets flush on the baffle. If it does, tighten down the baffle bolt nuts with a 1/2" socket and wrench.
NOTE: You may need to duplicate the bend on the baffle bolts that were removed earlier. To do this, lift up on the back of the baffle and put good firm pressure on the front until the bolts start to soften and bend into the old configuration. Set the rear of the baffle onto the rear baffle bracket
Product Videos
Custom Field
Product Reviews
1 Review Hide Reviews Show Reviews
-
Baffle
Worked fine as replacement. Holes for screws were in wrong spot for a HII stove. I drilled new holes with a Titanium bit. Took about 4 min per hole. With a hand drill. Worked out nicely


