Product Description
Lopi Freedom - Stainless Steel Airtube Kit
Lopi 98900234
For use with below model:
- Lopi Freedom Insert - Serial #52500 & up.
- Lopi Freedom Stove - Serial #52400 & up
Includes:
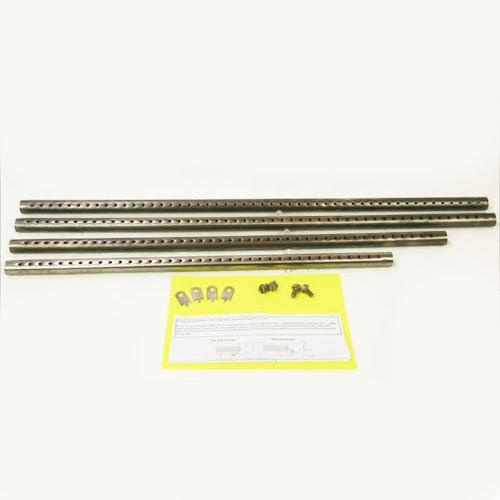
- 1 - front 22-7/8"" long secondary air tube
- 1 - center 20-11/16"" long secondary air tube
- 1 - rear 16-1/2" long secondary air tube
- 3 - 1" retaining sleeve (#100-11001)
- 8 - 1/4" roll pins (#98900357)
- 1 - instruction sheet.
Removing the existing Air Tubes
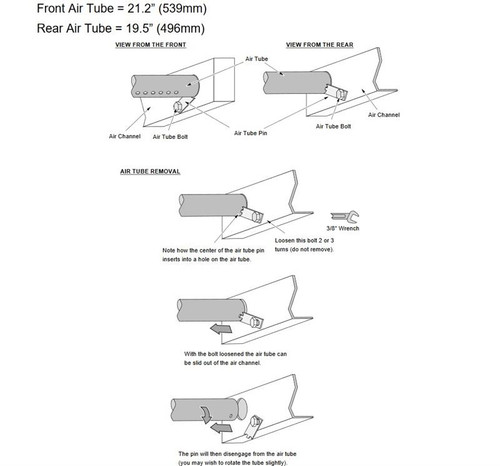
The front air tube sits in a socket that is welded to one side of the stove and is held in place by a retaining collar* with two push or roll pins on the other side. Remove push pins by pulling them out with pliers or by prying them out with a flat blade screwdriver. Remove roll pins by using the pointed end of the roll pin tool and a hammer to drive the roll pin into the center of the air tube. Slide the retaining collar towards the center of the air tube and then push the air tube as far to the left (in to the socket) as you can. You should be able to remove the air tube by pulling it down and out of the socket. If you can not do this, then you will need to cut the tube in two, and then remove and discard the pieces.
The center and rear air tubes are held in place on each side by retaining collars* with push or roll pins. Remove push pins by pulling them out with pliers or by prying them out with a flat blade screwdriver. Remove roll pins by using the pointed end of the roll pin tool and a hammer to drive the roll pin into the center of the air tube. Slide the retaining collars towards the center of the air tube and the tube should come out. If you can not do this, then you will need to cut the tube in two, and then remove and discard the pieces.*Your unit utilizes 5 retaining collars. We have supplied you with 3 new ones. If you do not need to use these, discard when job is completed.
1. Take one of your collars and slide it over the pipe stub on the left side of the firebox, lining up the hole in the left side of the collar with the hole in the pipe stub. Using the roll pin installation tool, install one of the roll
pins into the hole to lock it into place. (figure 1)
2. Slide another retaining collar over the end of the air tube with a single hole. (figure 2)
3. Take the other end of the air tube and insert it into the retaining collar you installed in step one. Slide the second collar to the right so that it over laps the air tube and the pipe stub on the right side of the firebox. (figure 3)
4. Line up the holes in the retaining collar with the hole in the pipe stub and the hole in the end of the air tube. Using the roll pin installation tool, install 2 roll pins into the holes in the retaining collar to lock the air tube in place. (figure 4) *If you are installing an L-19 airtube kit , you are finished.
5. Repeat steps 1– 4 for the center (20-11/16) air tube. (figures 5- 8)
6. For the front air tube, slide the retainer collar over the end of the air tube with the hole ¼” from the end. (figure 9)
7. Take the other end of the air tube and insert it into the socket welded to the left side of the firebox. Slide the collar to the right so that it over laps the air tube and the pipe stub on the right side of the firebox.
8. Line up the holes in the retaining collar with the hole in the pipe stub and the hole in the end of the air tube. Using the roll pin installation tool, install 2 roll pins into the holes in the retaining collar to lock the air tube in place. (figure 11)

Product Videos
Custom Field
Product Reviews
2 Reviews Hide Reviews Show Reviews
-
Air baffles
Product was good. Pin holes in air baffles didn’t line up correctly. Had to redrill pin holes so baffle holes faced in right direction.
-
Air tube kit
Was exactly what I needed and easy to install


