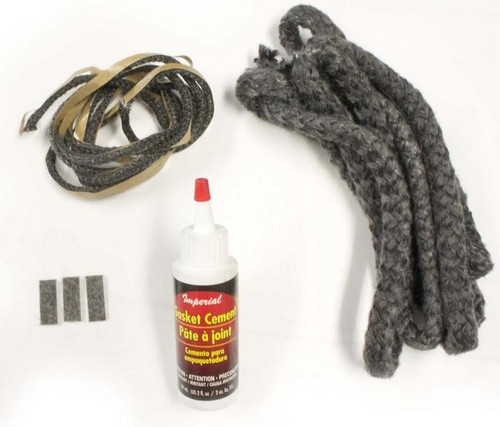
Product Description
Hearthstone Clydesdale Complete Rheostat Kit
94-88910 includes 7200-601
1. Unplug the fan from wall outlet.
2. Using a 5/32” allen wrench, loosen the two setscrews in the ash lip Once these screws are removed, lift the top portion of ash lip up and lift it off the base.
3. With the top portion of the ash lip removed, you will see the original rheostat. Remove the phillips screw in the top of the assembly
4. Before going further, check the locations of the affect wires
5. Remove the four phillips screws on the back of the rheostat bracket. Carefully disconnect the two wire connectors and take the defective rheostat out of the ash lip and discard it.
6. Fit the new rheostat into the ash lip. The control wheel on the bottom should extend out through the bottom front of the ash lip. Turn the four screws back into place in the bracket to hold it in place against the inside face of the ash lip. Remember to place the green wires back in position on the upper left screw before placing this screw. Tighten the four screws with the stubby phillips screwdriver to secure rheostat and bracket.
7. Reconnect the wires from the rheostat to their appropriate places The white wire to the red connector and the black wire to the snap switch terminal.
8. Install the heat shield between the air control slide and the rheostat
9. Set the ash lip back in place. With the front of the lip angled up, it will drop into position. Secure it by turning the setscrews in place with the allen wrench


